
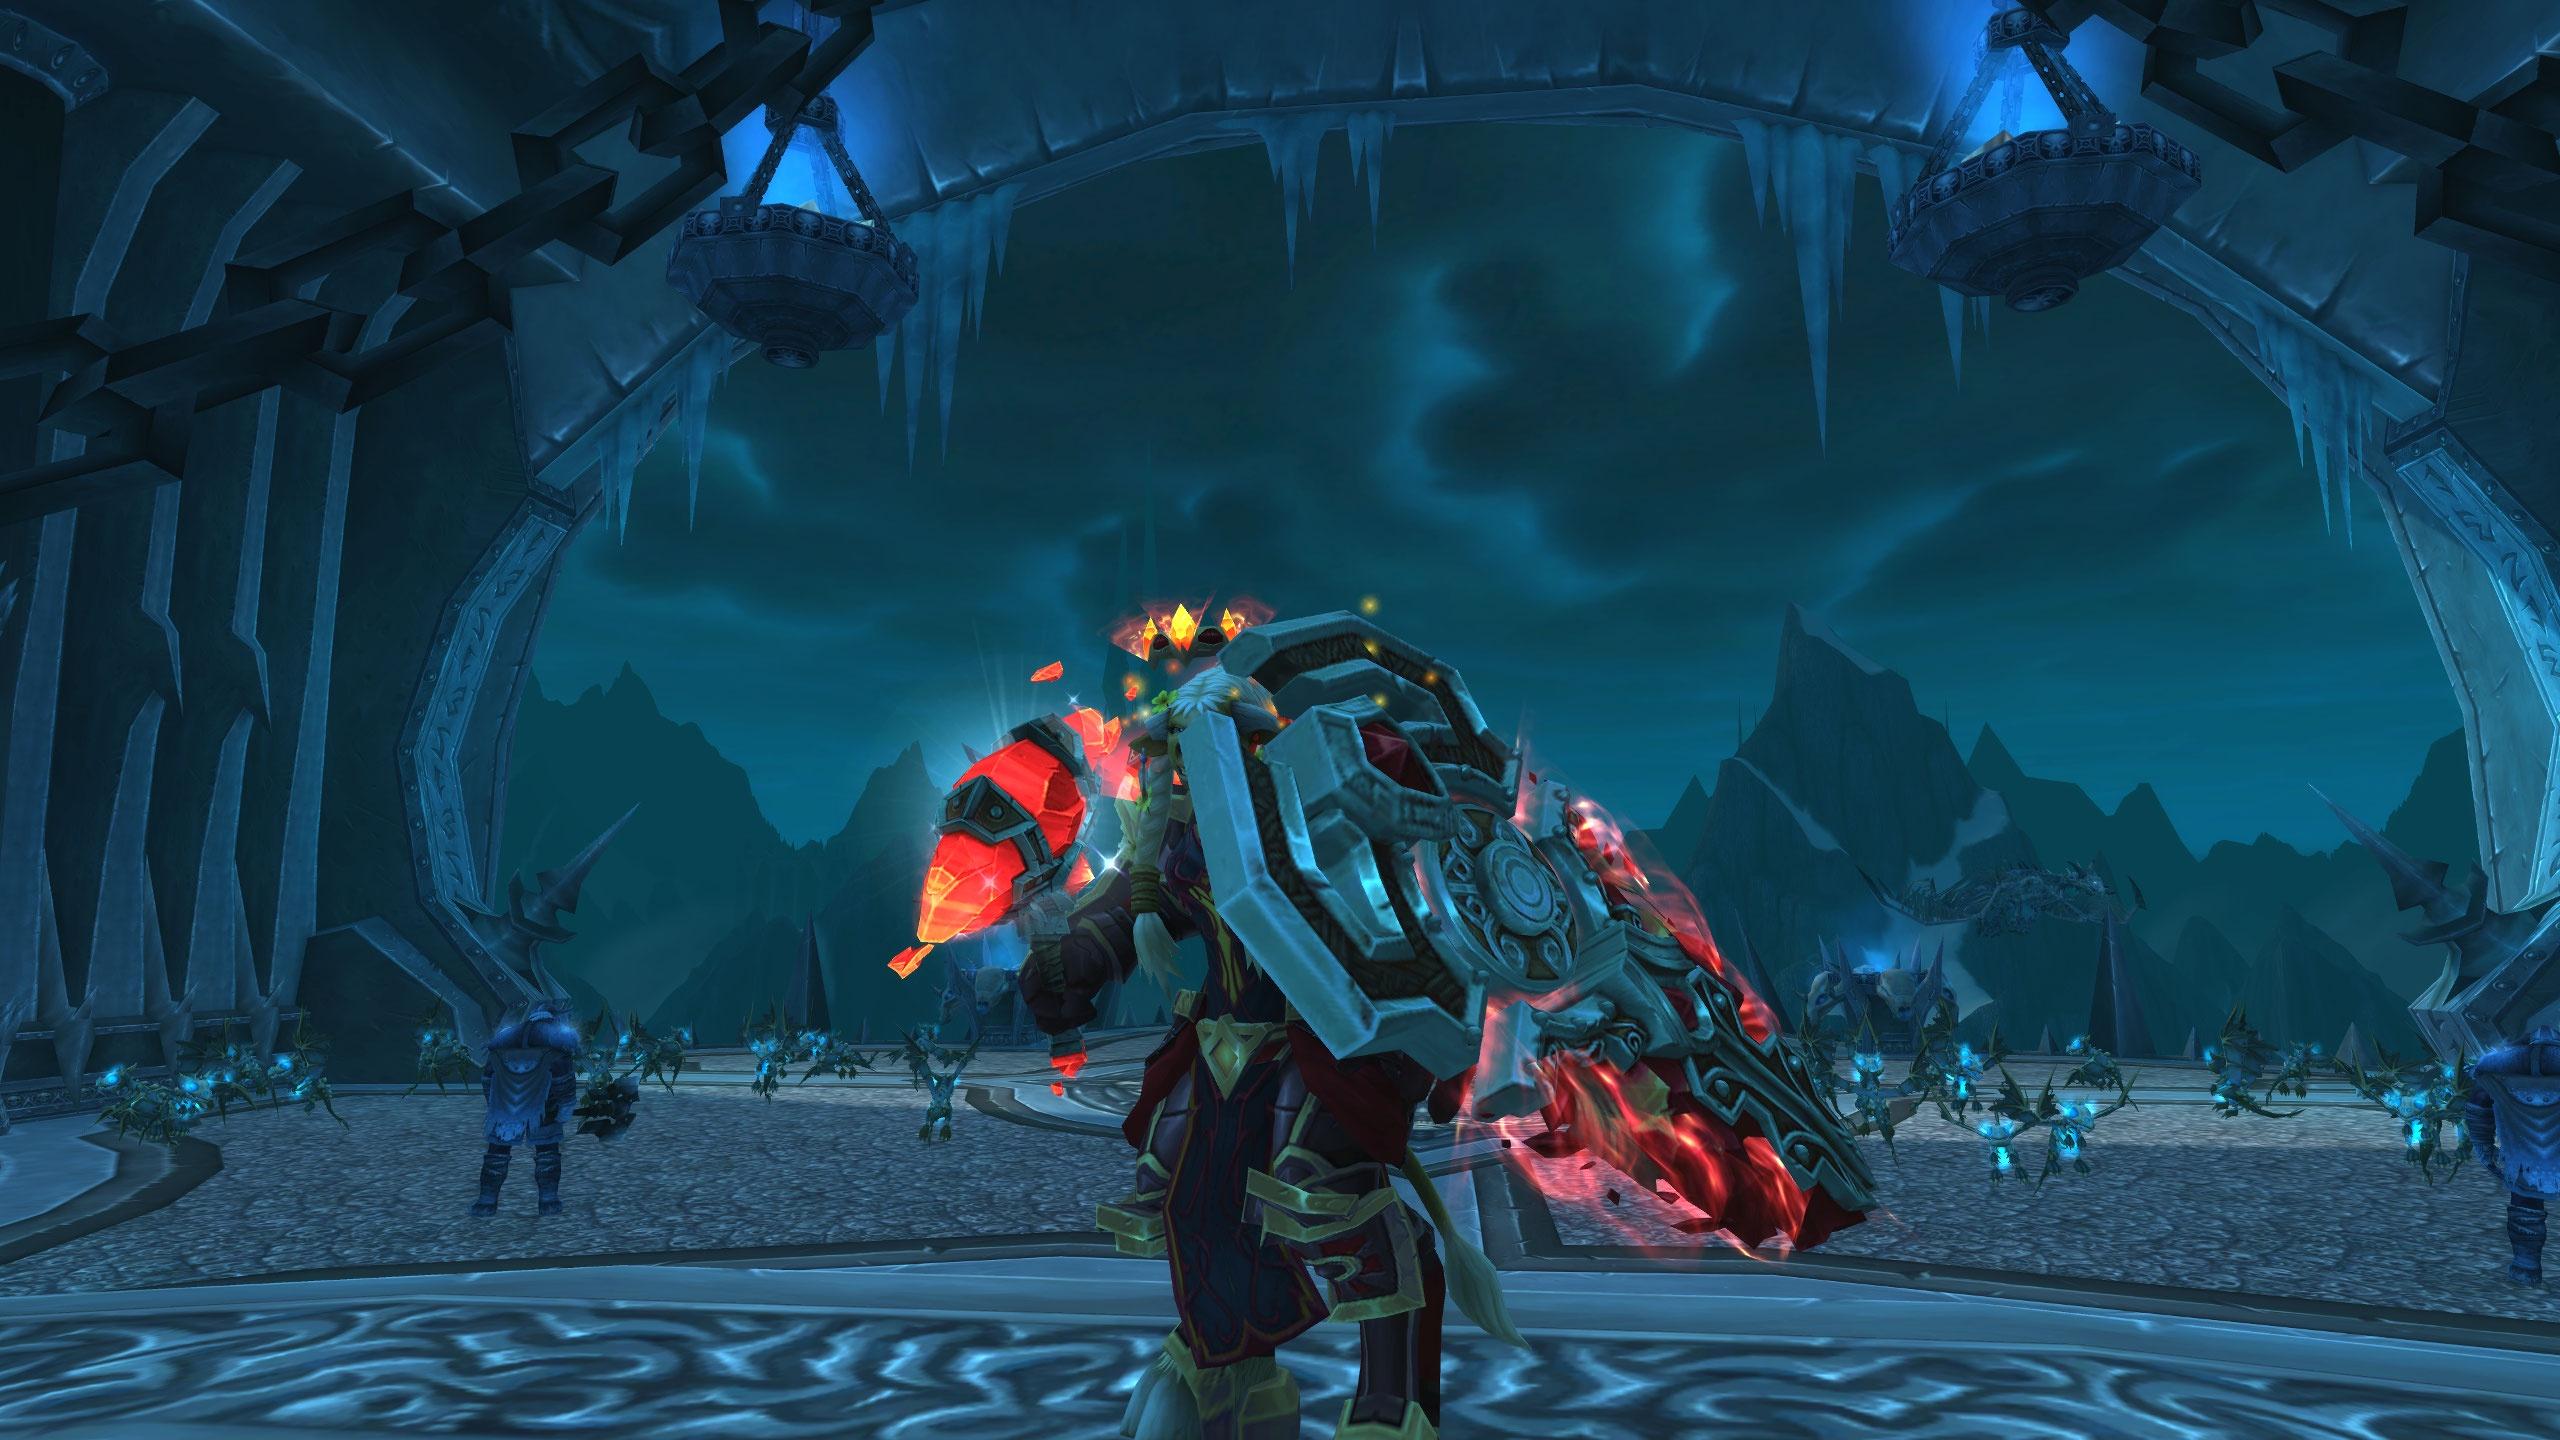
As a seasoned adventurer, you’re no stranger to the trials that Azeroth presents, but the air grows colder, and the challenge steeper, as you set your sights on Sindragosa’s lair within the icy walls of Icecrown Citadel.
She’s not just another dragon to slay; she’s a test of endurance, strategy, and teamwork. In this guide, you’ll find the distilled wisdom from countless encounters with the Frost Queen’s consort, tailored to equip you with the tactics you need to lead your raid to victory.
You’ll discover how to dismantle her arctic arsenal and avoid becoming another frozen statue in her wintry domain. As you steel yourself for the confrontation ahead, remember that the difference between glory and defeat often hangs on the thinnest strand of understanding—so let’s ensure you’re thoroughly prepared to tip the scales in your favor.
Understanding Sindragosa’s Lair

Before you challenge Sindragosa, it’s crucial to understand her lair’s layout, as the environment plays a significant role in the encounter’s mechanics.
The icy expanse is fraught with hazards; ice tombs can encase your allies, demanding swift action to free them before they suffocate. You’ll need to be mindful of Sindragosa’s icy grip, as it will pull you in, setting you up for a devastating blast unless you find cover swiftly.
As you navigate through the battle, you’ll encounter phase transitions that test your adaptability and coordination. During these shifts, Sindragosa will unleash new abilities, and you’ll have to react quickly to survive. Watch for the stacking debuff, mystic buffet, which will amplify the magic damage you take—timing is everything to reset your stacks without jeopardizing your team.
Strategically, position yourself to minimize the damage from these abilities, and keep in mind the layout of the lair to use the ice tombs as a shield from Sindragosa’s frost bombs.
This encounter isn’t just about brute force; it’s a dance of precision and awareness. Stay sharp, stay mobile, and you’ll find your path to victory.
Preparing Your Raid Group
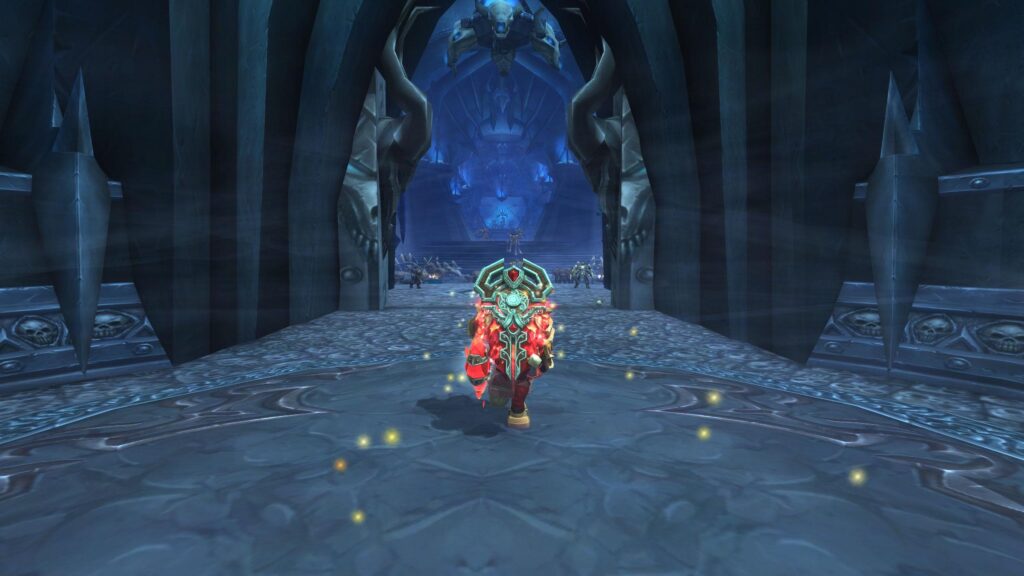
Having grasped the intricacies of Sindragosa’s Lair, it’s crucial to assemble a raid group equipped with the right balance of classes and roles to tackle the challenges ahead. For heroic mode, where raid damage and magic damage are amplified, you’ll want to prioritize robust healing tanks. Ensure your tanks are kitted with sufficient Frost Resistance to mitigate Sindragosa’s Frost Breath and have a deep pool of tank cooldowns to survive the onslaught.
You’ll need healers who can adeptly manage their mana while dealing with Unchained Magic, which reduces healing output. More healers than usual may be required to keep up with the intense healing demands, especially during phases where raid-wide damage spikes.
DPS must be versatile, capable of both high damage output and mindful movement to avoid unnecessary damage from Frost Aura and other abilities. They should be aware of their Chilled to the Bone stacks and stop attacking as necessary to reset them. This is crucial to prevent overwhelming the healers.
Coordination is key; your raid must work in unison to navigate through air phases and correctly position behind Ice Tombs. With these preparations in place, you’re ready to face Sindragosa and claim victory.
Mastering the Battle Phases
To conquer the perilous phases of Sindragosa’s assault, you’ll need to grasp the nuanced strategies and precise timings required for each stage of the battle. Inside Icecrown Citadel, the Lich King’s frosty minion presents a formidable challenge, starting with a relentless assault of Frost Aura and tailoring your damage output to avoid the chilling effects of Permeating Chill.
As you navigate the first phase, position yourself wisely to avoid Cleave and Tail Smash. Keep an eye on the Frost Breath; use your defensive cooldowns smartly to survive the icy onslaught. When Unchained Magic hits, cast sparingly to minimize the damage from Instability.
The transition phase is critical; watch out for the lethal frost bombs Sindragosa hurls from the sky. Identify the Frost Beacon targets quickly and use the Ice Tombs for cover to avoid instant death. This phase tests your spatial awareness and forces you to balance between damaging the ice tombs and seeking refuge behind them.
In the final push, the damage output soars as Mystic Buffet stacks. Swap tanks to manage the buff, and use every defensive trick in your arsenal to withstand the Frost Breath. Coordination and timing are key to victory over Sindragosa’s chilling powers.
Surviving the Frost Mechanics
Mastering the frost mechanics is crucial, as they’ll test not only your individual skill but also the teamwork and coordination of your entire raid. Sindragosa’s lair is a frigid battlefield where the cold can be as deadly as the dragon’s claws. You’ll face ice spheres that can explode, dealing splash damage to anyone nearby. It’s vital you’re nimble on your feet, dodging these icy hazards while managing your movement speed, which can be reduced by the chilling effects of the frost mechanics.
Your entire raid must be alert, moving as a cohesive unit to minimize the impact of these frost attacks. Remember, the splash damage from ice spheres won’t just scratch you – it can decimate your team if you’re clustered too tightly. Communication is paramount; call out sphere spawns and coordinate your movements to give everyone enough room to maneuver.
Your movement speed is a precious resource in this fight. Anything that can slow you down, like the frost aura’s creeping chill, must be countered or avoided. Quick reactions can mean the difference between victory and an icy grave. Stick together, stay light on your feet, and you’ll survive Sindragosa’s frosty onslaught.
Executing the Final Assault
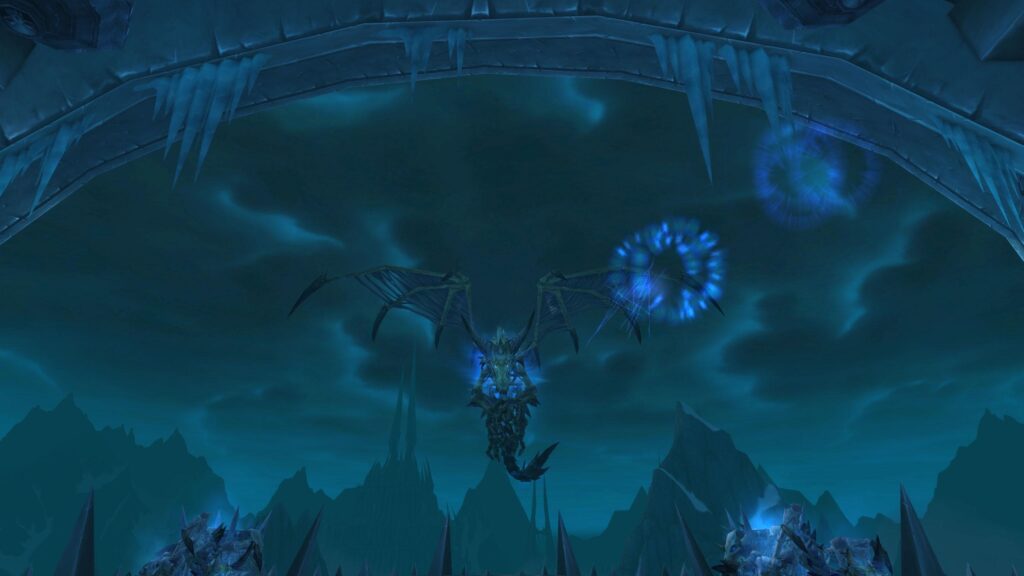
How will your raid team deliver the decisive blow in the final moments of the Sindragosa encounter? As Sindragosa’s health dwindles, your focus must be razor-sharp.
Melee DPS, it’s time to shine while dodging Sindragosa’s chilling attacks. You’ll need to weave between her paws, harnessing every ounce of blood power you’ve amassed. Remember, each stack of Chilled to the Bone amplifies the damage you take, so monitor your stacks meticulously.
Tank swaps are crucial now more than ever. Coordinate with your fellow tank to manage the damage per stack from Mystic Buffet. A smooth swap can mean the difference between victory and a frosty wipe. Don’t let the boss movement disrupt your cadence; Sindragosa will try to throw you off with her positioning, but keep your composure.
In these final moments, every action counts. Keep up the pressure but do so with precision. Each attack, each movement must be calculated to maintain the rhythm of tank swaps and DPS while mitigating the escalating damage.
With determination and tight execution, the icy grip of Sindragosa will finally be broken, and your raid will emerge victorious from the frost.
Conclusion

The summit conquered, Sindragosa’s icy reign crumbles like a glacier under the sun. You’ve danced with the frost, your breaths synchronized with her chilling roars, your footsteps a ballet on her frozen grave.
Together, your raid has turned the tides, the Frost Queen’s champion now but a memory etched in the annals of the citadel. Stand triumphant, hero, for through the blizzard’s fury, you’ve emerged not just as survivors, but as legends.
Thank you for reading! We invite you to dive deeper into the world of World of Warcraft with us. Share your thoughts, ask questions, and connect with fellow enthusiasts in our blog’s comment section. Together, let’s explore and conquer the adventures that await in Azeroth. Join the conversation today!